Stuff that impacted our trekking the most. There were two items that really changed the way we trekked, and the comfort of the trek. We would like to tell you why and review the ones we use. So what are they? Water bladders and trekking poles.
Bladders
One of the big dangers of trekking is dehydration. This is especially so when you are in the mountains. All trekking is an exertion. You will be sweating, losing fluid and this needs to be replaced. Dehydration is often a contributing factor to acute mountain sickness. We used to use bottles or flasks. This would be stashed in our rucksack. Every time you need to drink you would have to stop, take your rucksack off, get the bottle out, drink, put it back, put the rucksack back on. What a faff. So you didn’t bother. The gaps between drinking would grow. Bad idea.
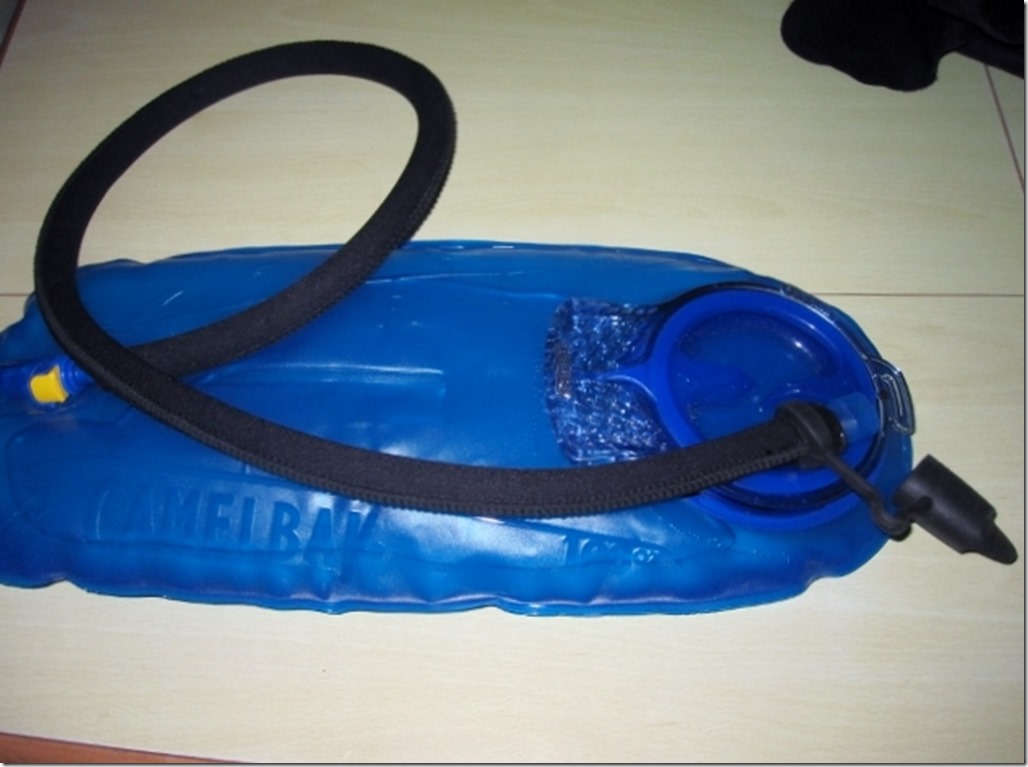
The bladder is a heavyweight plastic bag, with a tube attached which has a plastic mouthpiece on the end. The bladder stays in the rucksack, the tube dangles out of the top and is clipped to your shoulder harness, allowing you to drink while you walk.
Sometimes even this is not practical. When at altitude any exertion in addition to walking raises the heart rate and can leave you gasping for air. But the very fact that the tube is just there, so convenient. To drink a few sips. Stop, drink, move on. Effortless. Little and often is the way to keep hydrated while on the mountain.
There are many different bladders on the market; MSR, Ortlieb and generic unbranded ones. We use Camelpak. They have a good lifetime warrantee and a good range of accessories. One accessory we did buy was an insulated drinking tube. Ours got frozen while on the slopes of Kilimanjaro, not good. We use the largest bladder they make at 3 litres (100oz), you can always under fill them. And they are stuffed at the top off the sack making sure the tube sits at the bottom! They often come with cases, straps etc. We don’t bother with these. Wrap them in a spare fleece, which you should be taking anyway. This will stop the water freezing and protect the bladder, and off you go. Sip away.
Trekking Poles
To date, touch wood, not we believe in that stuff, yeah, yeah, yeah. Susana and I have never suffered from bad knees. Luck or good planning? We are careful. We look after ourselves and we use good equipment. Two things that will look after your knees, good boots and good poles.
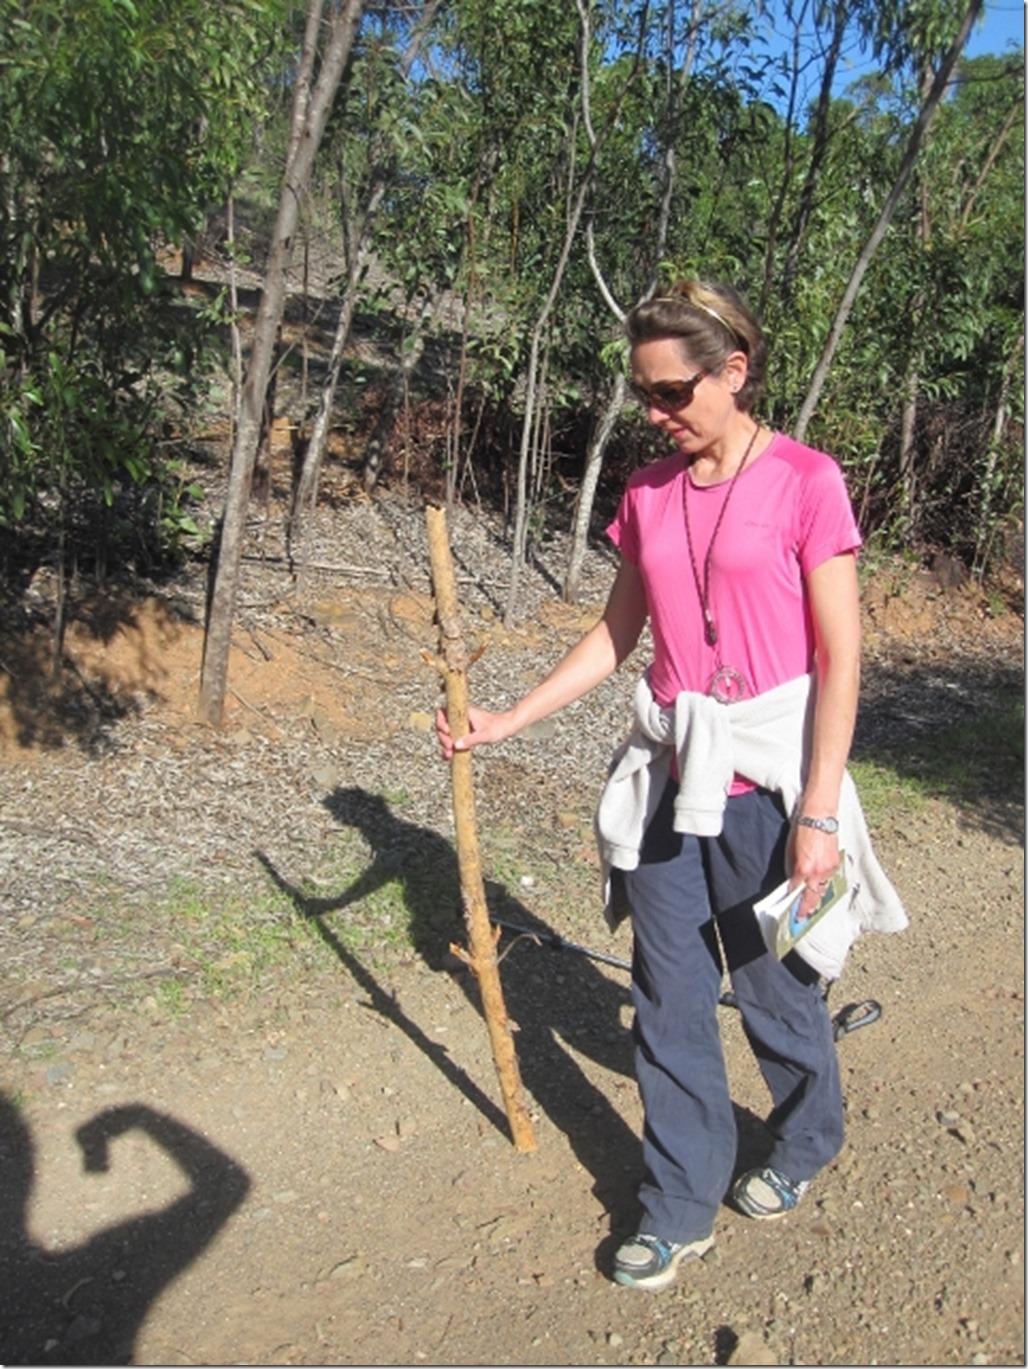
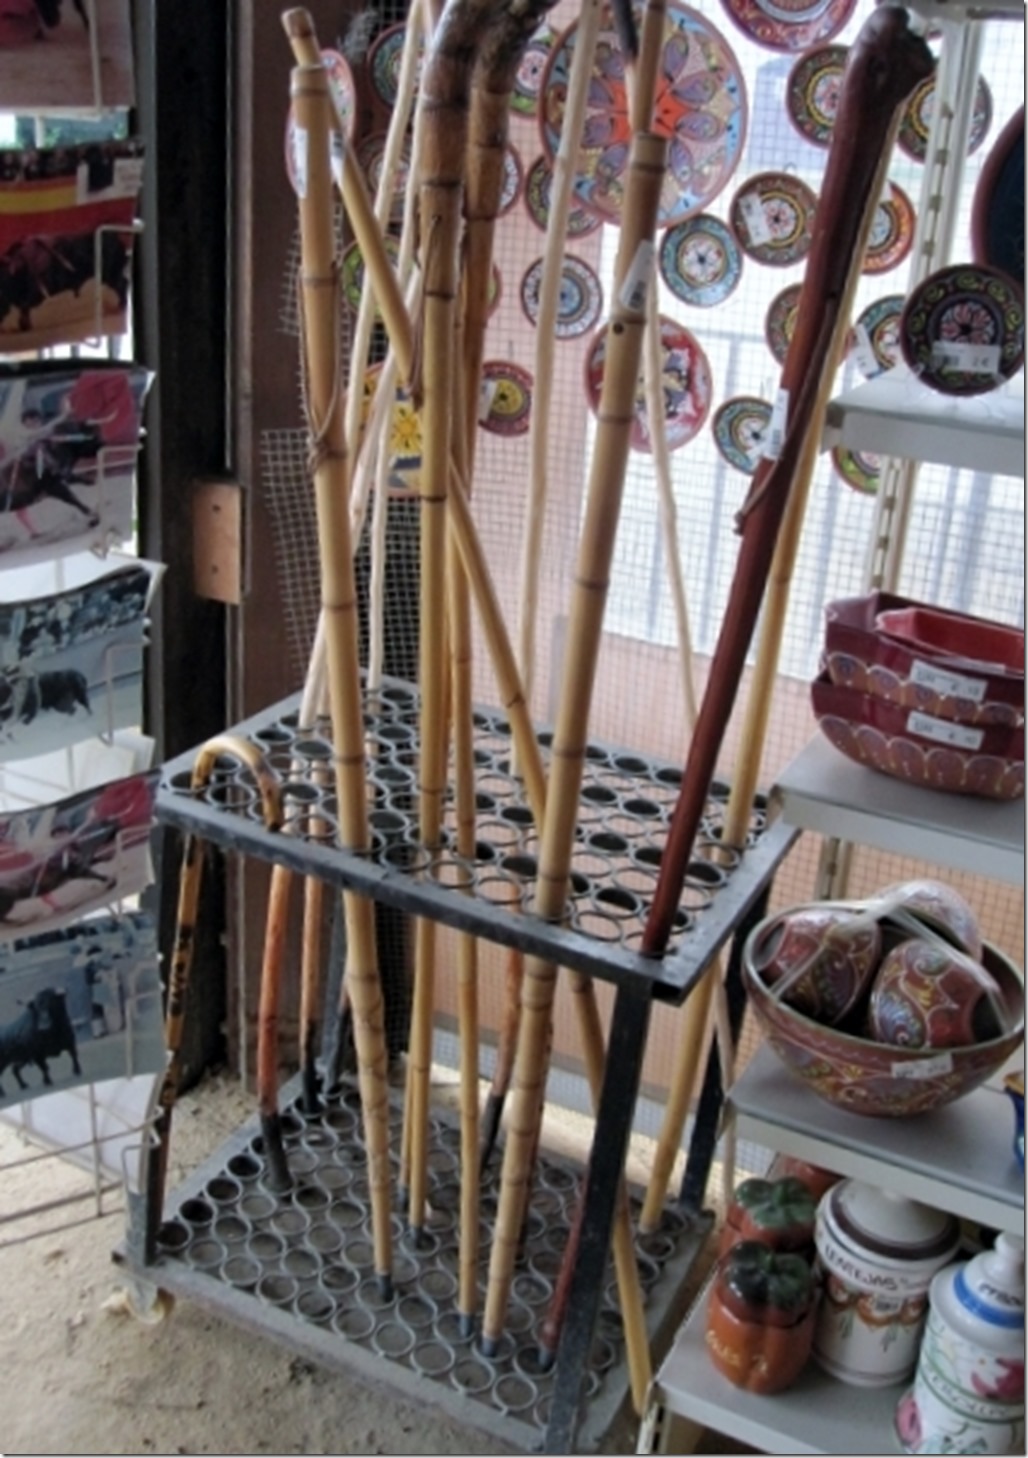
One of my first treks was to the base camp of Everest. The friend I was trekking with really suffered with his knees. That was over twenty years ago. Since then I have always been really careful about knees. One of the ways to take the pressure off of them is to use a pole. Now these come in many shapes and sizes. At one end you have a stick, the other, a carbon fibre pole with suspension. Well to be honest anything solid timber is just not up to the job. It may be good enough for the Camino de Santiago, and give you the look of Gandhi or christ, but really, it is just too heavy, is not strong enough and will give you splinters.
Even the crafted ones, sanded down, branded with your favourite mountain range ‘Sierra de Gredos’ and varnished a deep gloss, with give you blisters within the first half kilometre.
So what should you be looking for?
Do you want to travel with it, if so make sure it fits in your suitcase, or even better, cabin bag.
Keep it simple, some come with suspension systems, and give a little. I am not a fan, too complicated, can you repair it on the trek?
I have also had some which allow you to screw in an attachment to allow you to use it as a monopod for the camera. A good idea, but the grip was compromised by being timber, and I never used it!
However see below, Manfrotto make trekking poles (they usually make camera tripods) so these could be good.
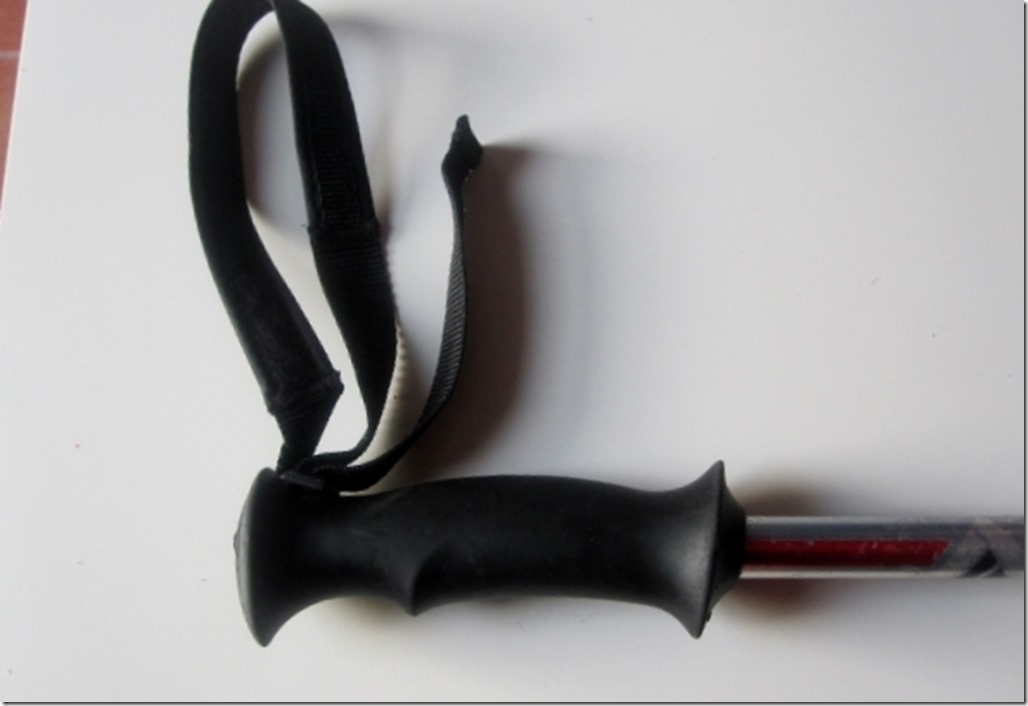
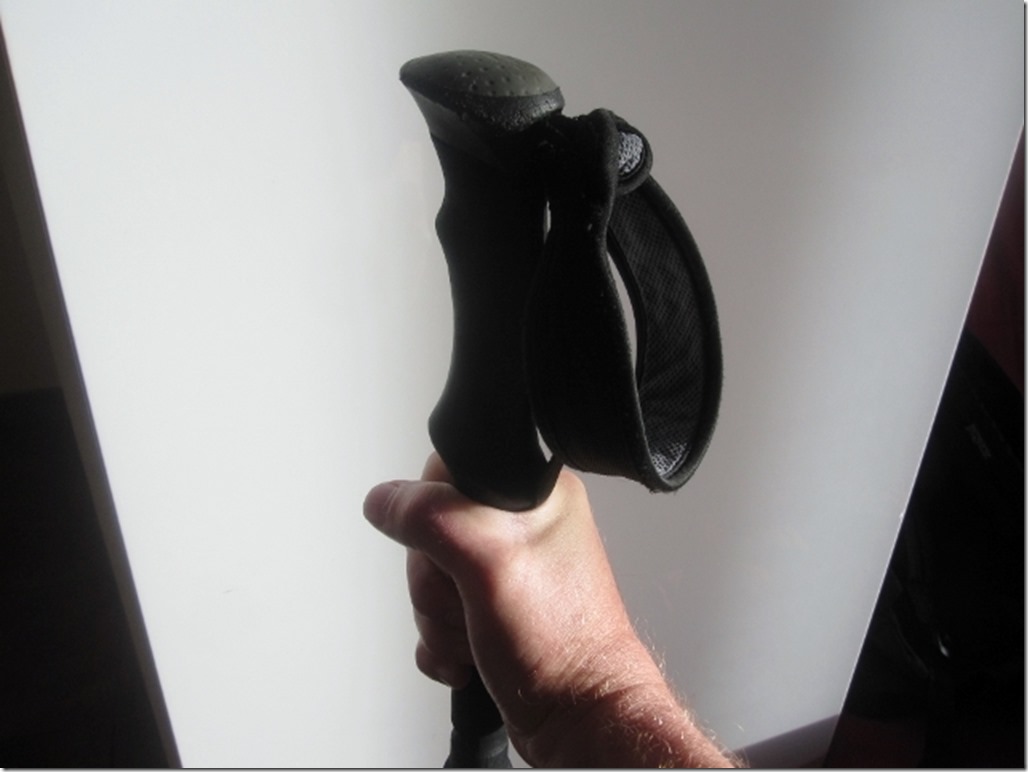
The handle is critical and comes in all shapes and materials; timber, cork, foam and plastic.
Now your hands sweat, even the ladies, and grip is important. I do not favour timber- too solid, cork can absorb the sweat. I prefer the plastic or foam. It maintains grip when wet, even in rain and can be washed thoroughly.
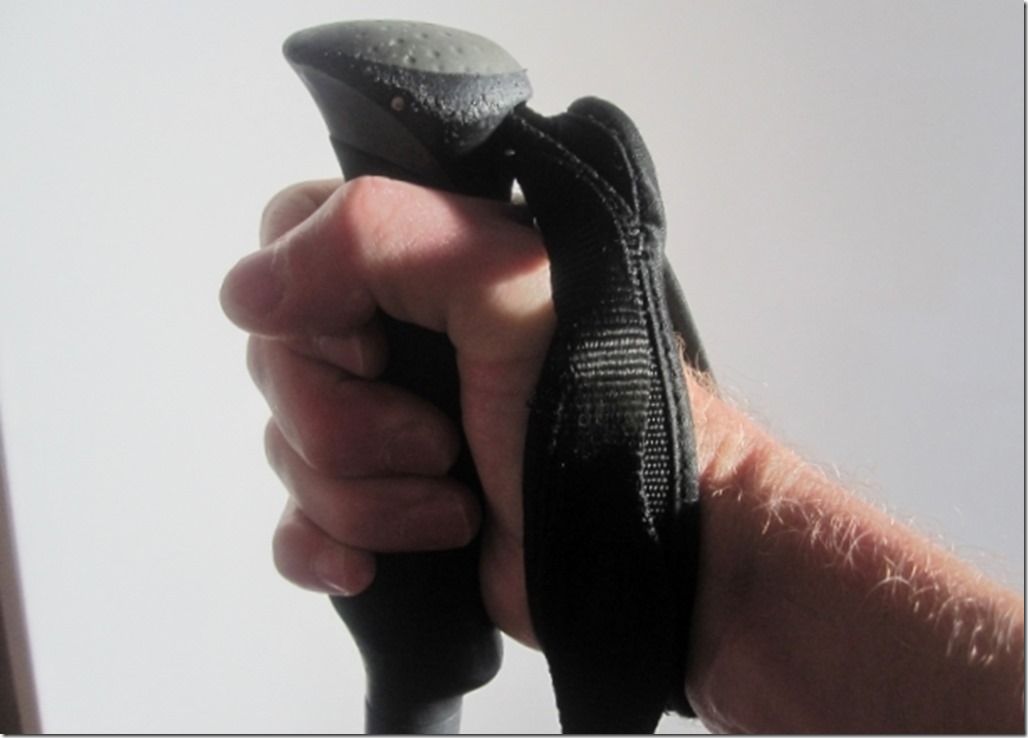
Make sure you also have a good padded wrist strap. It is surprising how much pressure this can deflect on the downhill stretches.
Poles are useful of any surface, except decking, where they get caught in those little gaps! Along the flat, they are used as in Nordic walking, and help you to keep a good rhythm. Up hill, really useful, even up to simple scrambles. But it is downhill where they really take the stress out of the knees.
We used to generally use one, but now are complete converts to the pair, especially on the longer mountain routes.
Makes; Leki are the market leader, and expect to pay over £100 for carbon fibre ones, but really do you need them to be that light, they will probably never break though, but then I have never had an aluminium pole break either.Others to look for are Decathlon, cheap and well made.
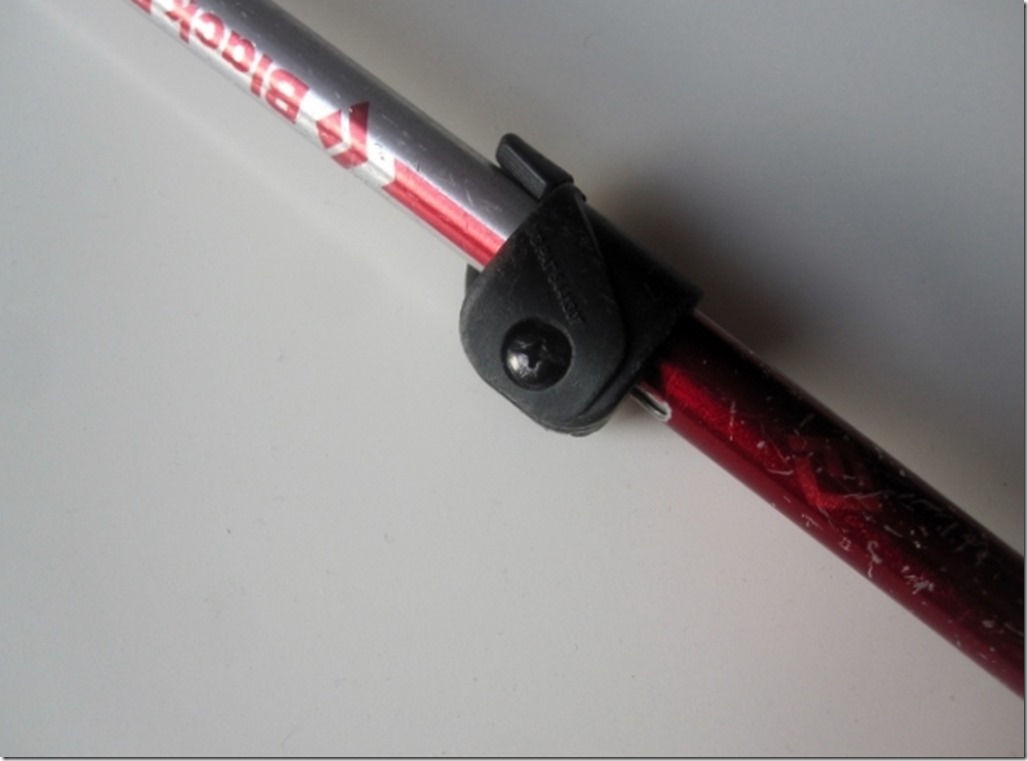
We use Black Diamond. Our first pair bought while in the USA and trekking around New England. Certainly not the cheapest, but what I really like is the way they extend. I have had Leki’s fail before, you twist them to tighten them and inside the mechanism, three plastic wedges held together with a rubber band. Very difficult to repair on trail. Not so the Black Diamond, with the levers that can be tightened with any good Leatherman.
PICTURE OF TRAD FIXING
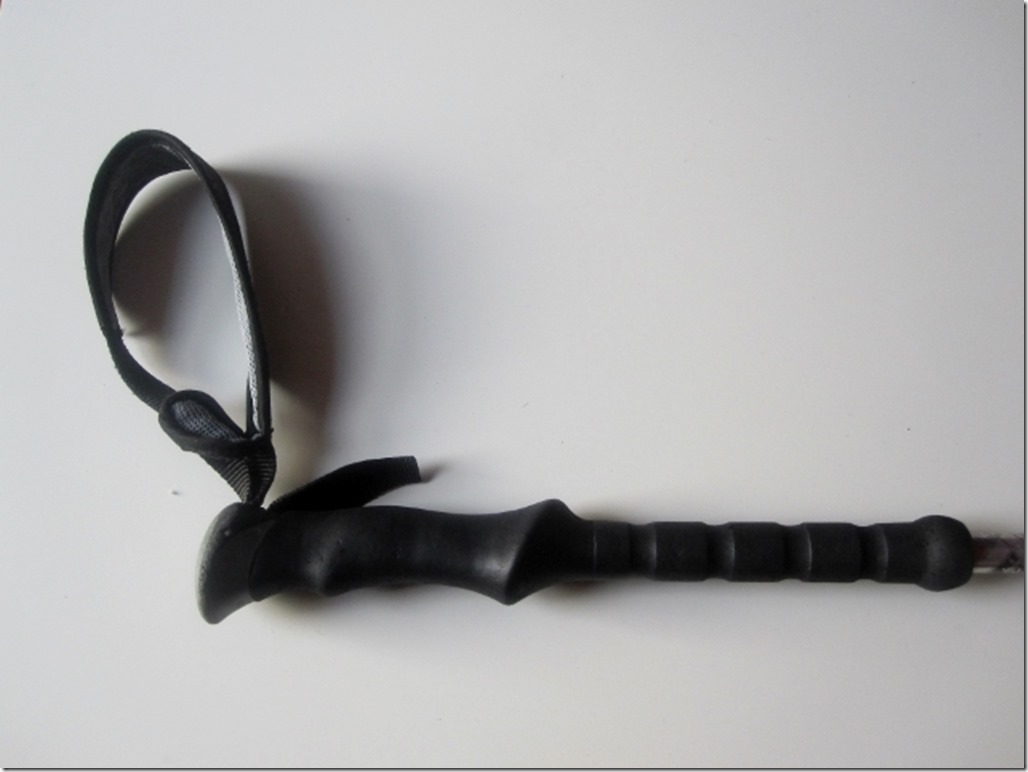
Susana’s pair also have extended grips, which are really useful on the uphill, allowing you to grip the pole lower down.
So for us bladders and poles, a real breakthrough and has kept us hydrated and with good knees.
GDR
