Something we had want to try for a long time now, and this trip has given us the opportunity.
Via ferrata is a form of protected climbing, but even this statement needs qualifying, and explanation.
There are different forms of climbing. Traditionally alpinists would hammer in pitons, wedges and anything else they could secure into the rock. They would then loop the rope through these hooks and climb. Sometimes they would rest using these devices, known as protection. Sometimes, they would secure the rope and then use it to climb upwards, in a process called jumaring. A more recent form of climbing, known as free climbing, the rope and protection is no longer used to take the weight or aid the climber, they are only there to protect the climber should they fall. There is an even more extreme form of climbing where no protection is used, not even a rope. This is known as soloing.
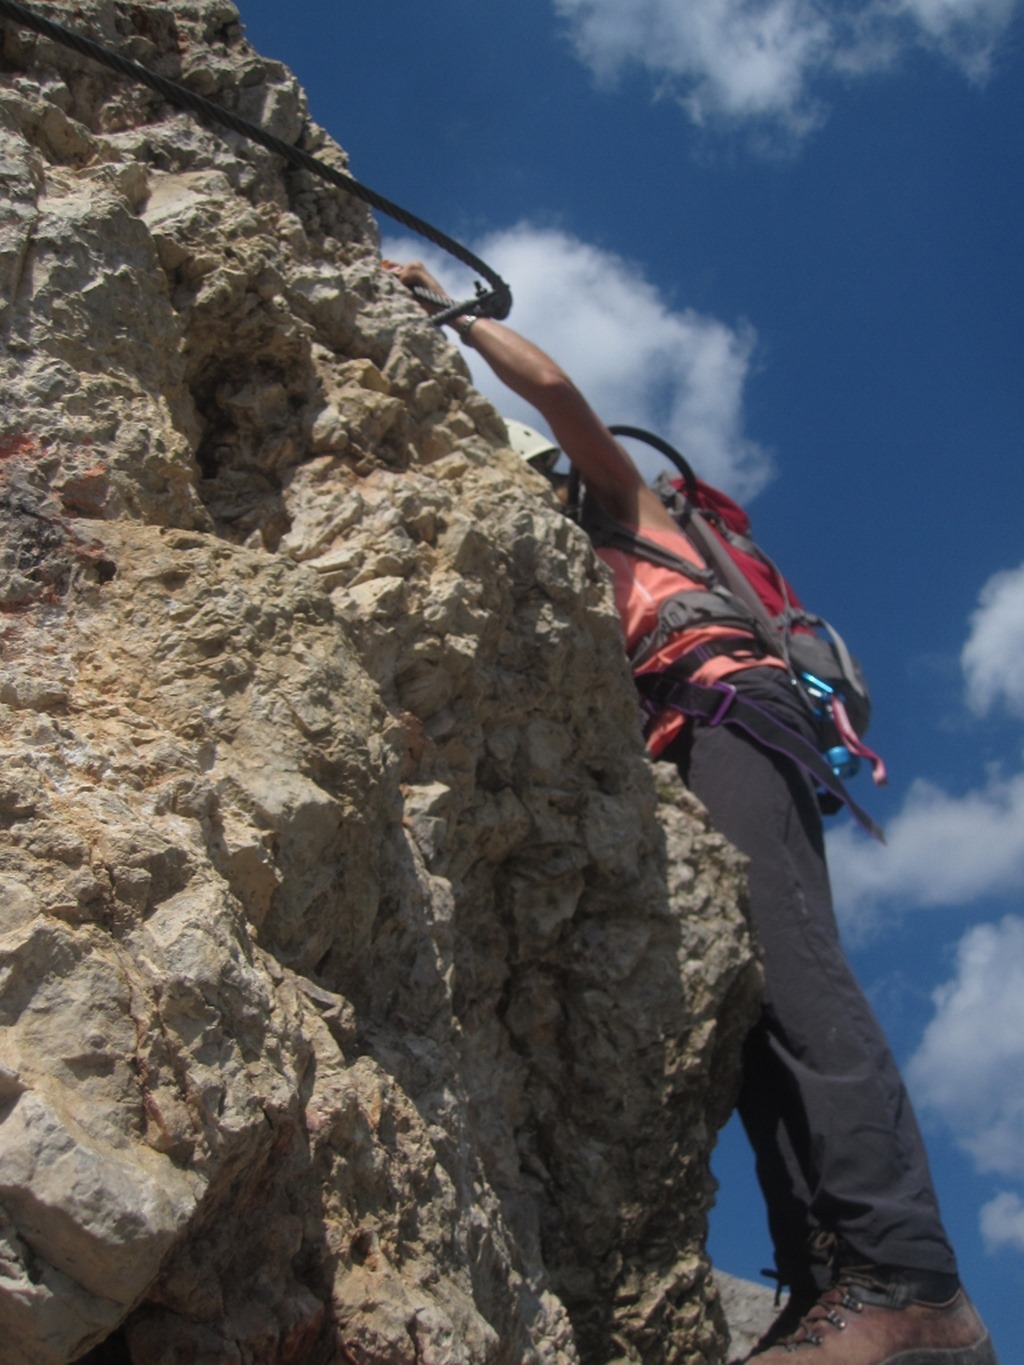
Via ferrata is a form of protected climbing. There are obviously different grades of Via Ferrata, the easiest being a scramble where the protection is used to alleviate feelings of exposure and vertigo. The hardest via ferrata are as difficult as rock climbs. And just as above, climbers treat via ferrata differently, some use the cables solely as protection in case they fall, others use the cables as an aid to climbing, hauling themselves up on the cables.
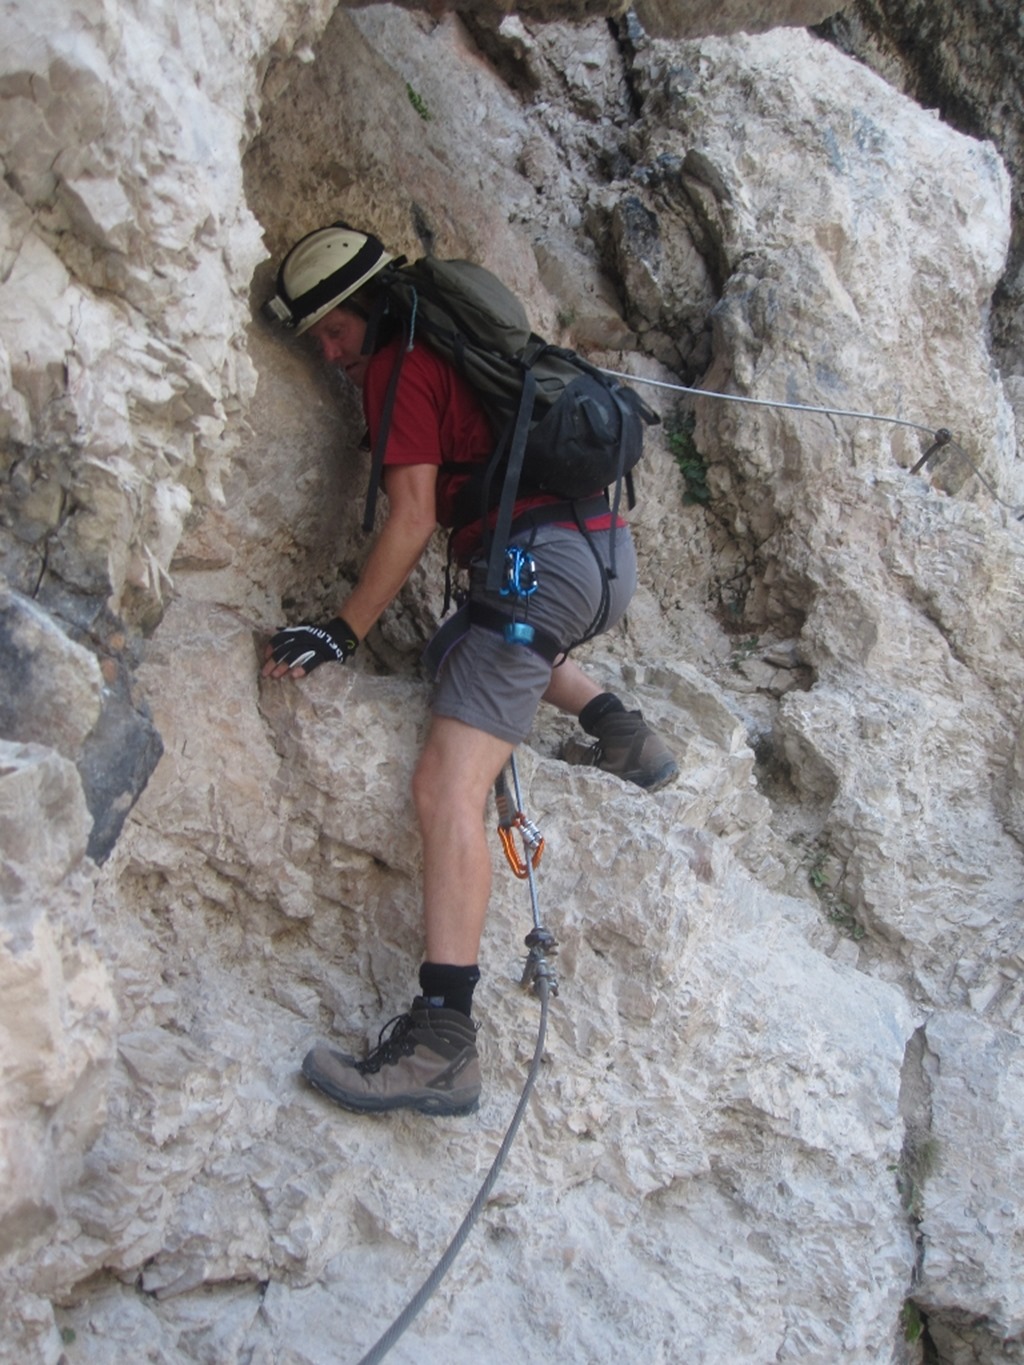
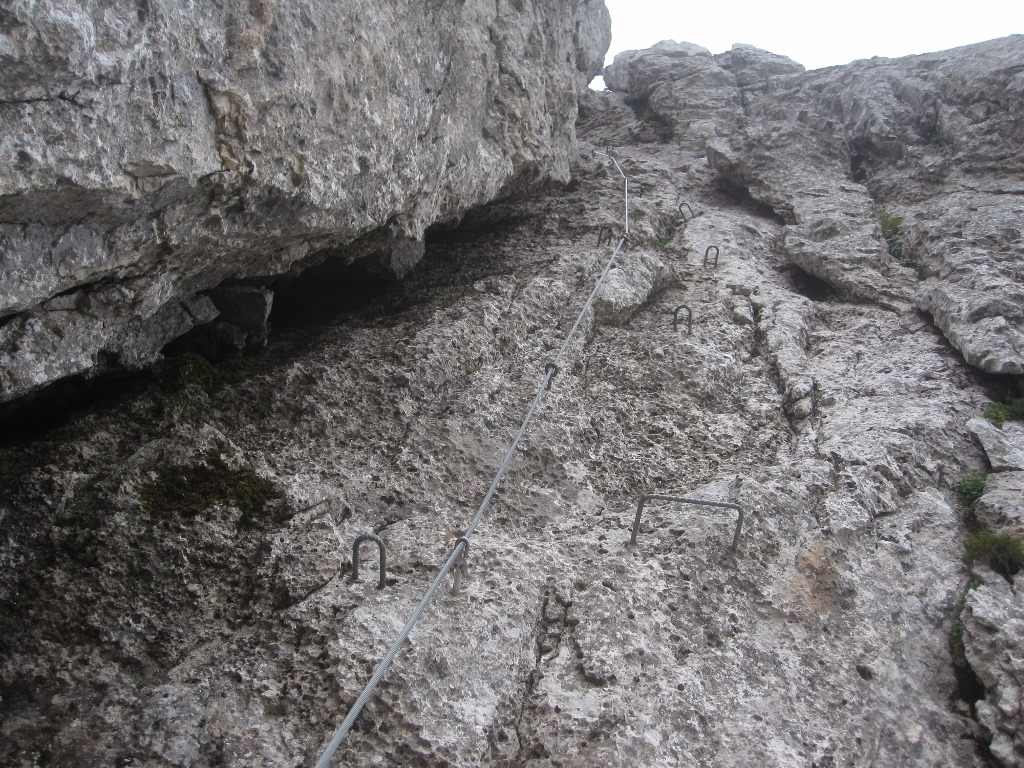
At its very least, a metal wire cable is secured to the rock, usually with the metal eyes, which are drilled and cemented into the rock. This is the protection.
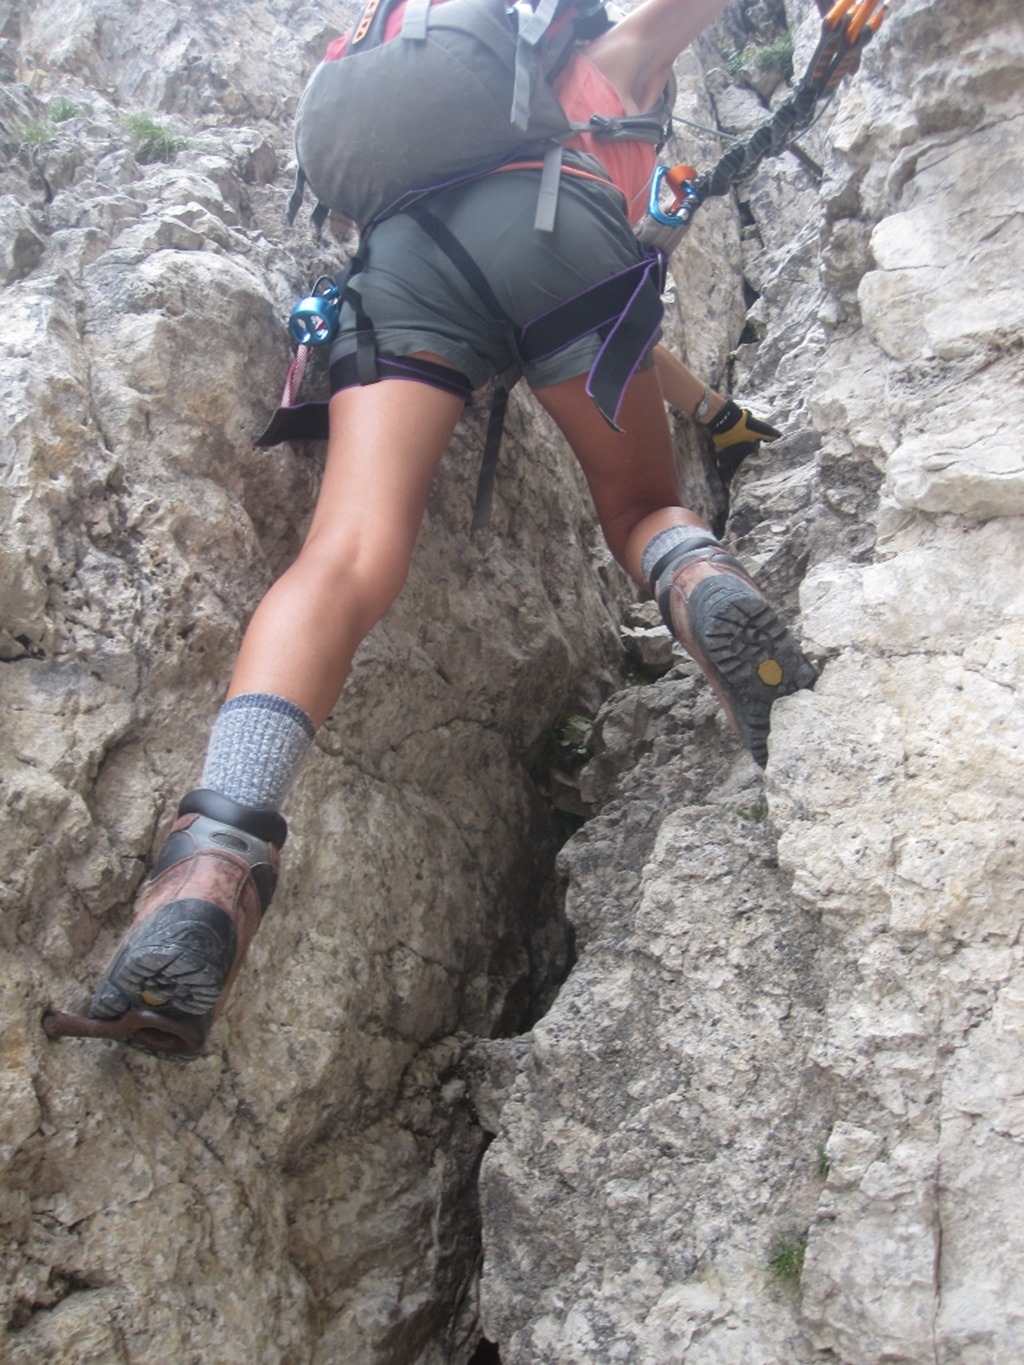
Other forms of assistant may also be inserted or attached to the rock to assist the climber including; pegs to place your feet on or use as handholds, ladders, stemples, chocks and rings.
But it is the cable which is the principle form of protection.
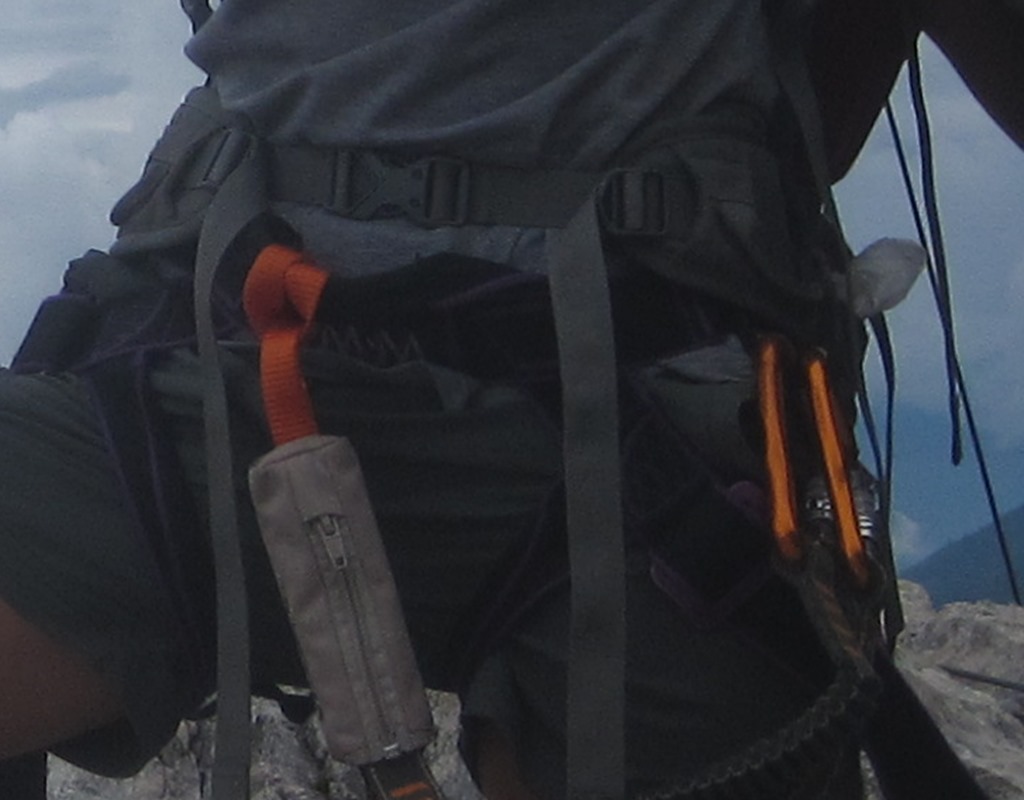
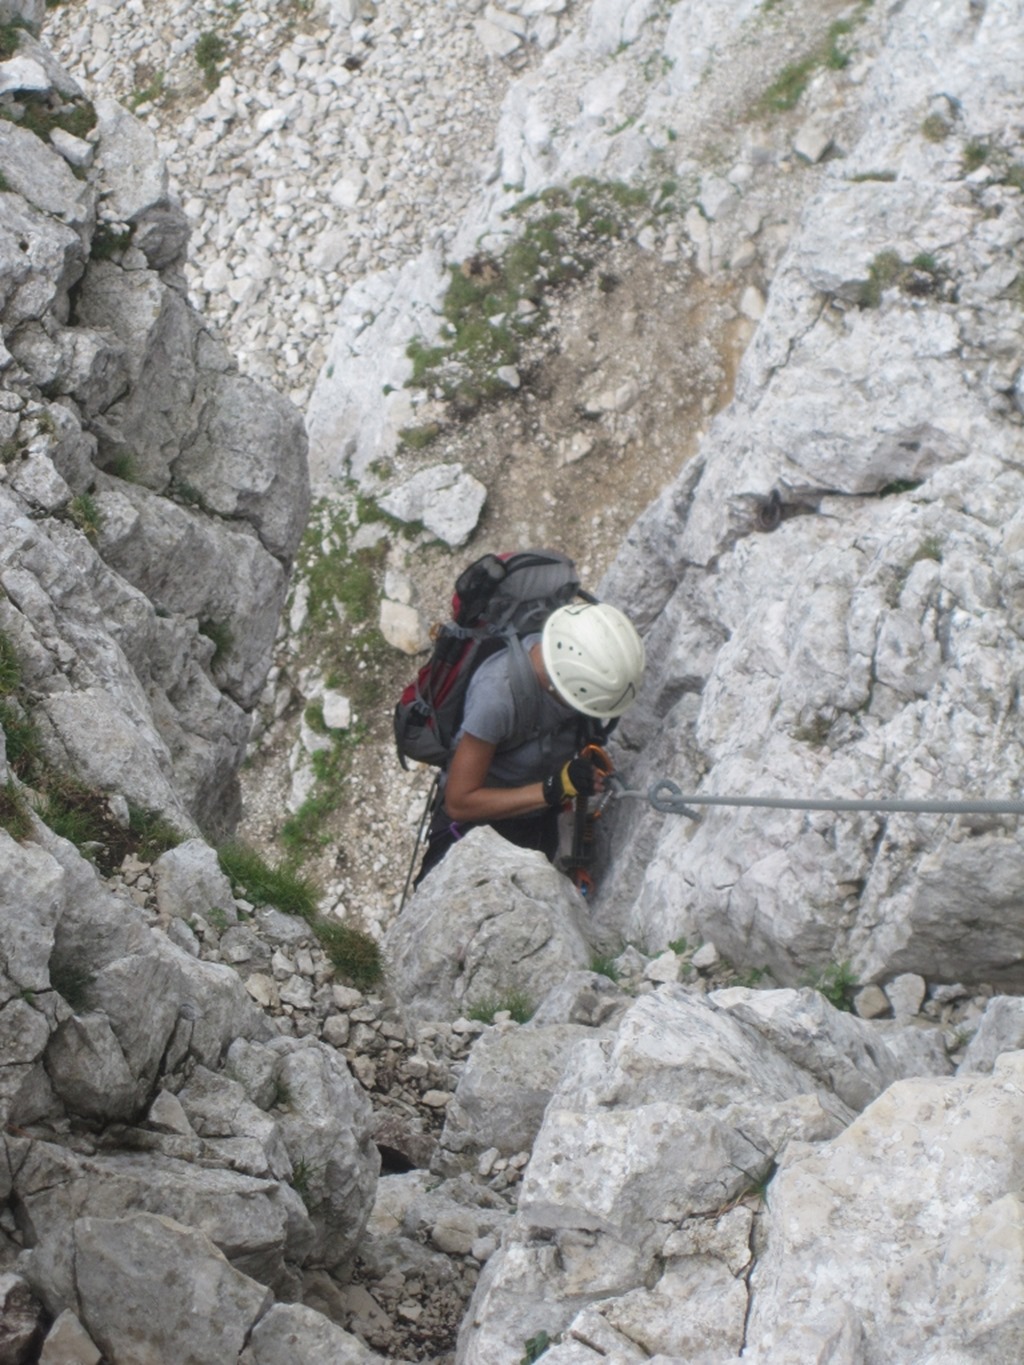
The climber then uses a specially designed Via ferrata (VF) lanyard, which is clipped onto the metal cable.
So what equipment is necessary
A climbing harness
The climbing harness is constructed from webbing and in its most simple form, the sit harness, you step into and is secured around your waist and legs.
Ours, in purple and black, are lightweight sit harnesses.
It is important that the buckles are secured tightly and the webbing is turned back on itself.
Additional loops will be provided on the harness for attaching other equipment that may be necessary.
The VF lanyard is then looped through the harness. Different harnesses have different attachments so it is very important to follow the instructions.
The disadvantage of these harnesses is that in a fall the climber can end up leaning backwards or upside down, therefore the harness needs to be a snug fit to stop the climber falling out. To prevent this a full body harness can be used.
A typical harness will cost €50-100.
The via ferrata lanyard
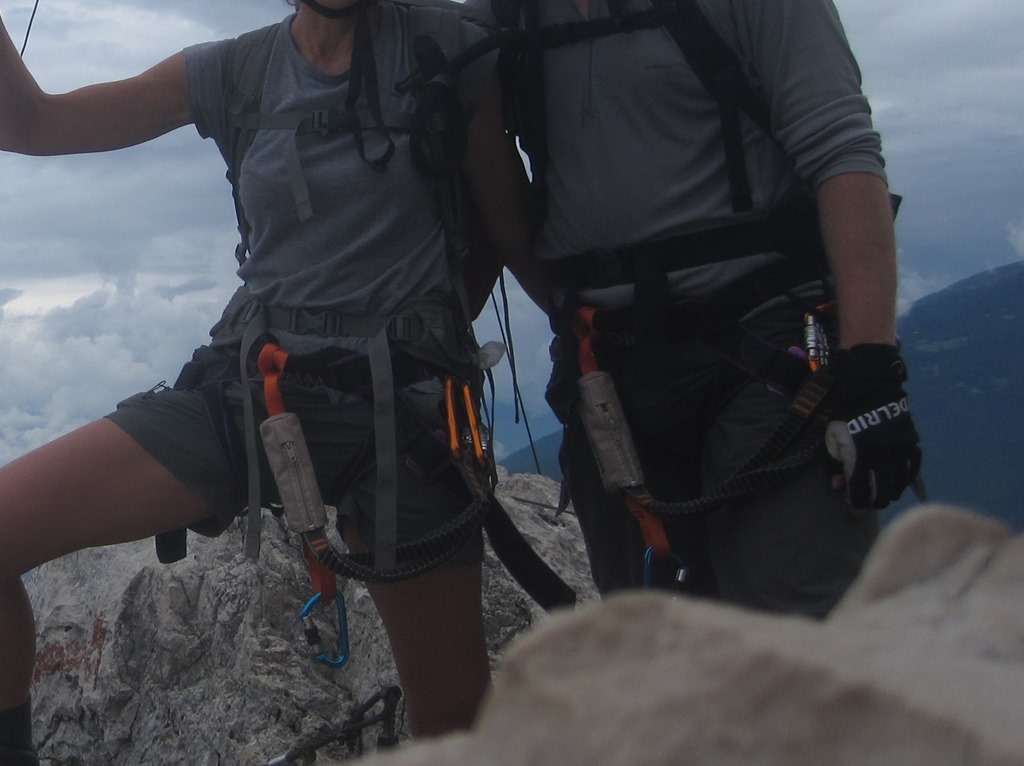
The purpose of the lanyard is, in the event that you fall, to arrest that fall in such a way as to prevent as much injury as possible. You will see from the video above that the metal clips, known as karabiners, slide along the cable. When a securing ring is reached one karabiner is removed and reattached the other side of the ring, then the other karabiner follows so that always at least one is attached at all times.
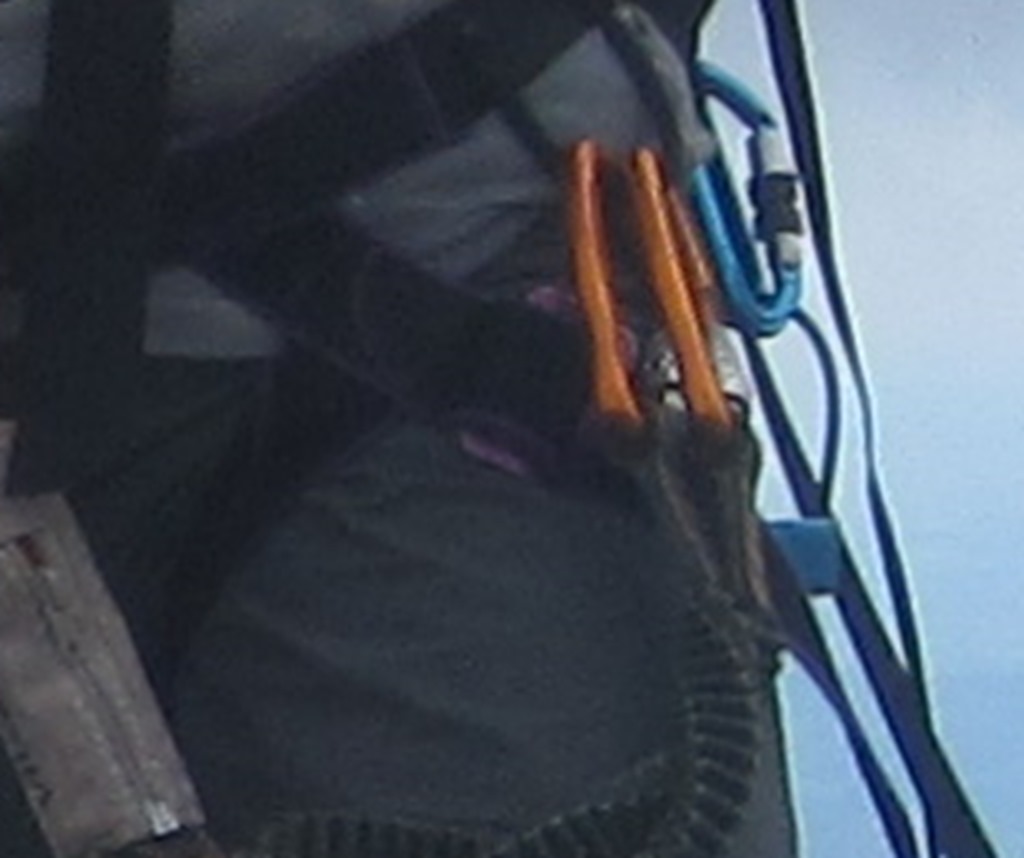
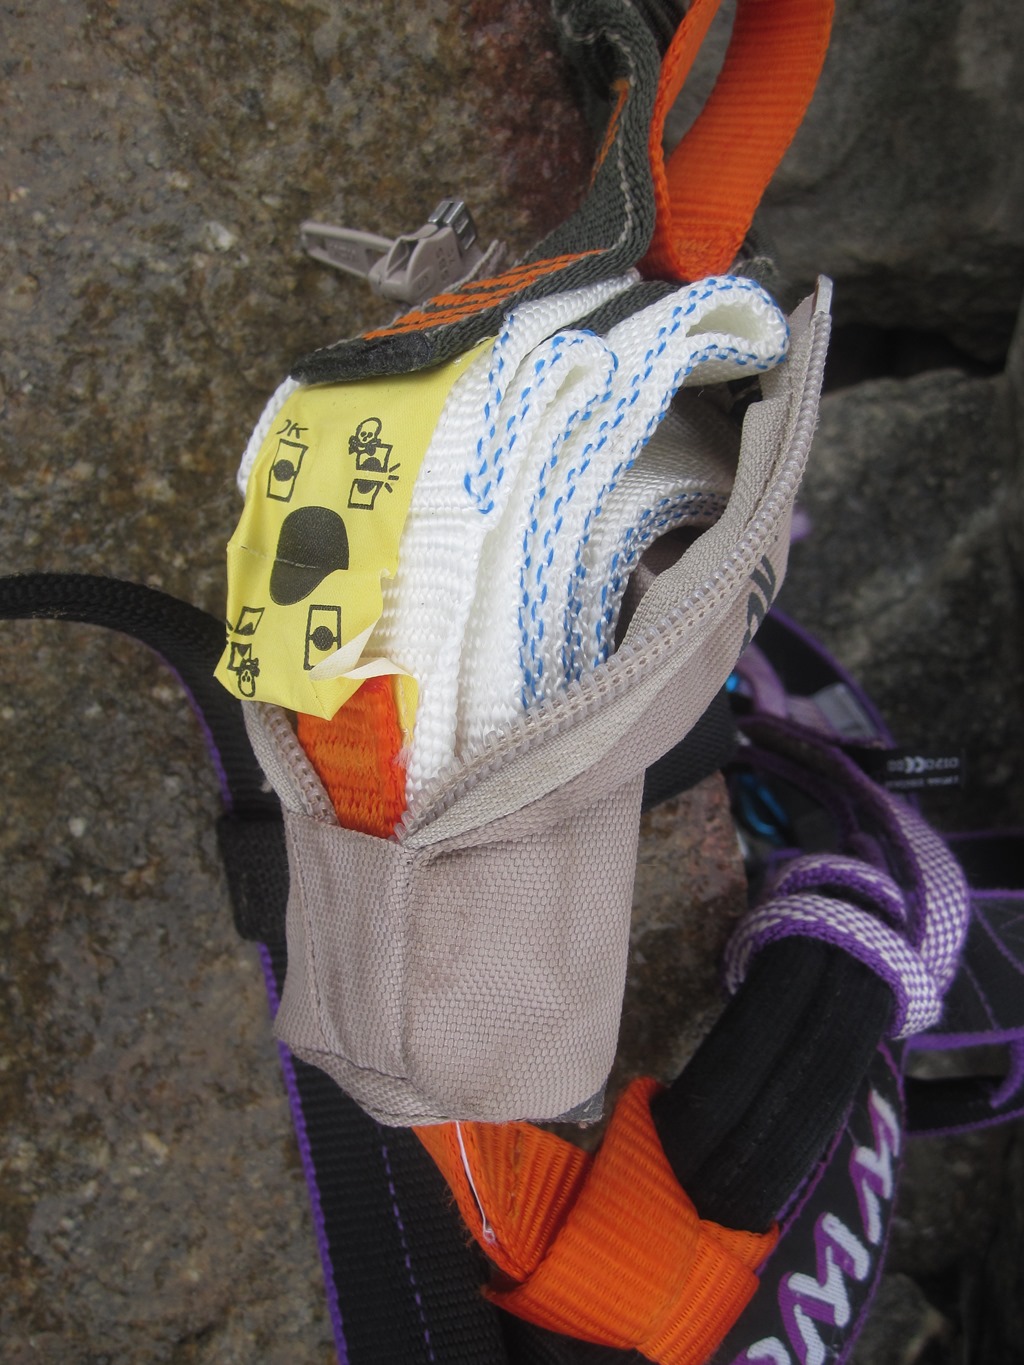
Now it may so happen that you fall just after you have reached a securing ring, in which case the amount you fall will be limited to the length of the lanyard, plus the stretch they design into the lanyard, however if you are at the upper end of the cable just before you move the karabiners around a secure point you will fall back to the last secured point, this could be 5 metres or so down. If the lanyards were made of rope, something that didn’t stretch or give, the forces could cause you a lot of shock and a lot of injury. The lanyards are designed to be shock absorbing. Ours have a coiled up tape which is sewn together. When a large force is applied the stitching will fail and the tape will unfurl gradually absorbing all that force and slowing you to a stop, almost like crumple zones on a car in reverse. The technical; term for this is the ‘kinetic impact shock absorber’ (KISA)
There are two types; an older ‘V’ type and the newer ‘Y’ type, our shown are ‘Y’ types and should be preferred as they perform to a higher safety standard.
Two standards apply; EN958 applies to both ‘V’ and ‘Y’ but only ‘Y’ meet the more exacting Union Internationale des Associations d’Alpinisme (UIAA), so ensure your lanyard, helmet and harness meet these standards.
So this jumble of tape and stitching is how the lanyard reduces all that kinetic force, essentially the stitching gets ripped apart, leaving one long bit of tape. If that bit of yellow fabric on the top is torn do not use the lanyard.
It is important that both karabiners are attached to the cable at all times, one arm of the lanyard might not be strong enough to arrest your fall.
A typical lanyard will cost €50-100.
Note; any handmade device made out of slings and karabiners will not protect you in a fall an may catastrophically fail due to the large dynamic forces which are encountered.
A helmet
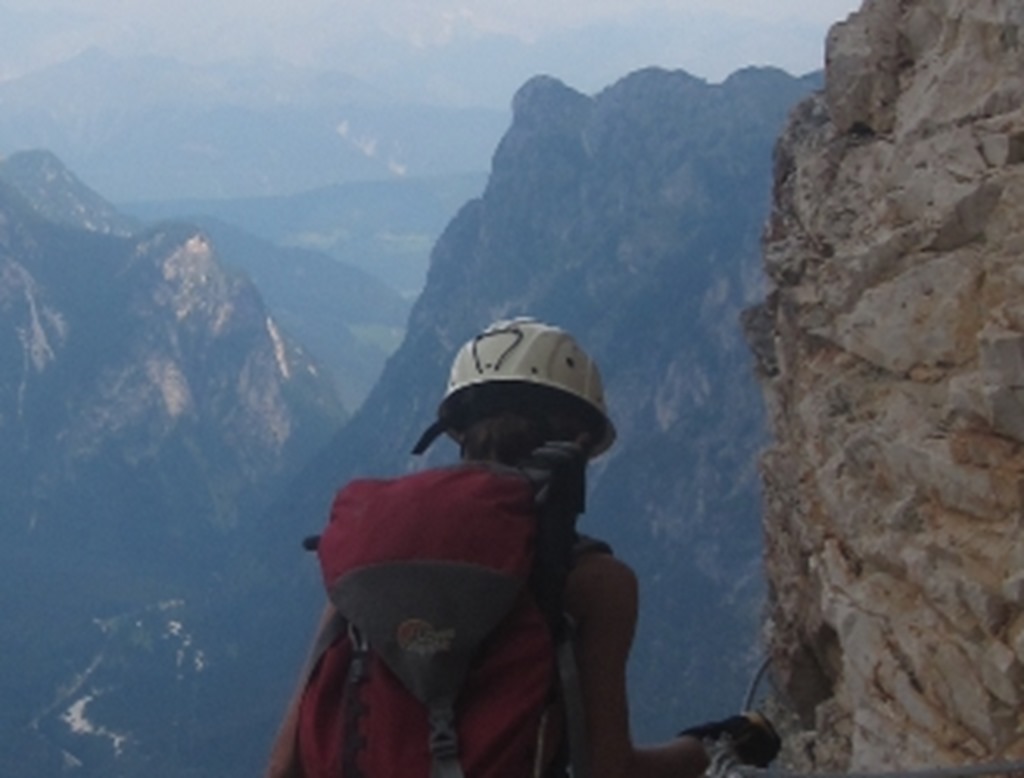
This serves two purposes, you will often get very close to the rock, duck under overhangs etc., so it stops you banging your head. But more importantly, it is there to protect you from falling stones, which might become dislodges by climbers higher up. A specifically designed climbing helmet needs to be used. Cycle and builders helmets are designed to take different impact loads so are not suitable for climbing.
A typical helmet will cost €30-70.
Gloves
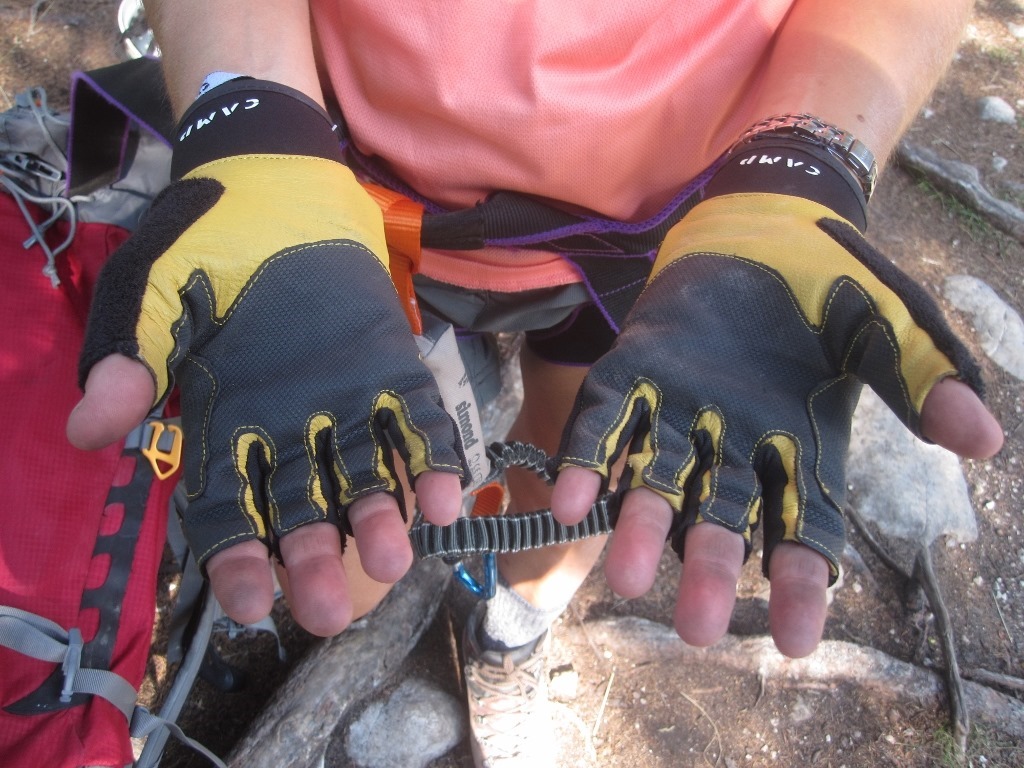
Some consider these the most important item (Susu). They keep you hand warm, allow you to grip the cable securely and stop abrasions to the hands. They also tend to keep some of the oil from the cable off of you to.
Fingerless versions are useful in allowing the opening of the karabiner
Typical gloves will cost €20-35.
Some routes might require additional climbing equipment. It is important that you research the route properly to ensure that it is a standard you are capable of and you have the necessary skills and equipment to complete it.
Such additional equipment might include;
A climbing rope- we use a 25-30, full rope.
Additional slings and karabiners to secure you when at rest. These are useful on long ladders.
Crampons and an ice axe may be necessary on high routes where glacial crossing is necessary, but maybe these are for another post.
It goes without saying that all the equipment that you take you need to be proficient in using.
You will also need, but will probably already have if you are into trekking;
Boots-
good three season boots, with fairly stiff soles, you might also consider climbing shoes on harder routes.
Rucksack-
A lightweight slim line alpine sac is preferable, 40-60l. It needs to fit well and hug the body so that it does not put you off balance. Ensure you distribute stuff in the bag well so that it does not move around.
Waterproofs-
It could still get wet out there.
Clothing-
Lightweight, layered trekking clothing will suffice.
Emergency kit
First Aid kit, emergency blanket, whistle, compass, torch.
Food and water
However, you do not want to take too much stuff, remember you will be carrying it, climbing with it!
So what’s it like?
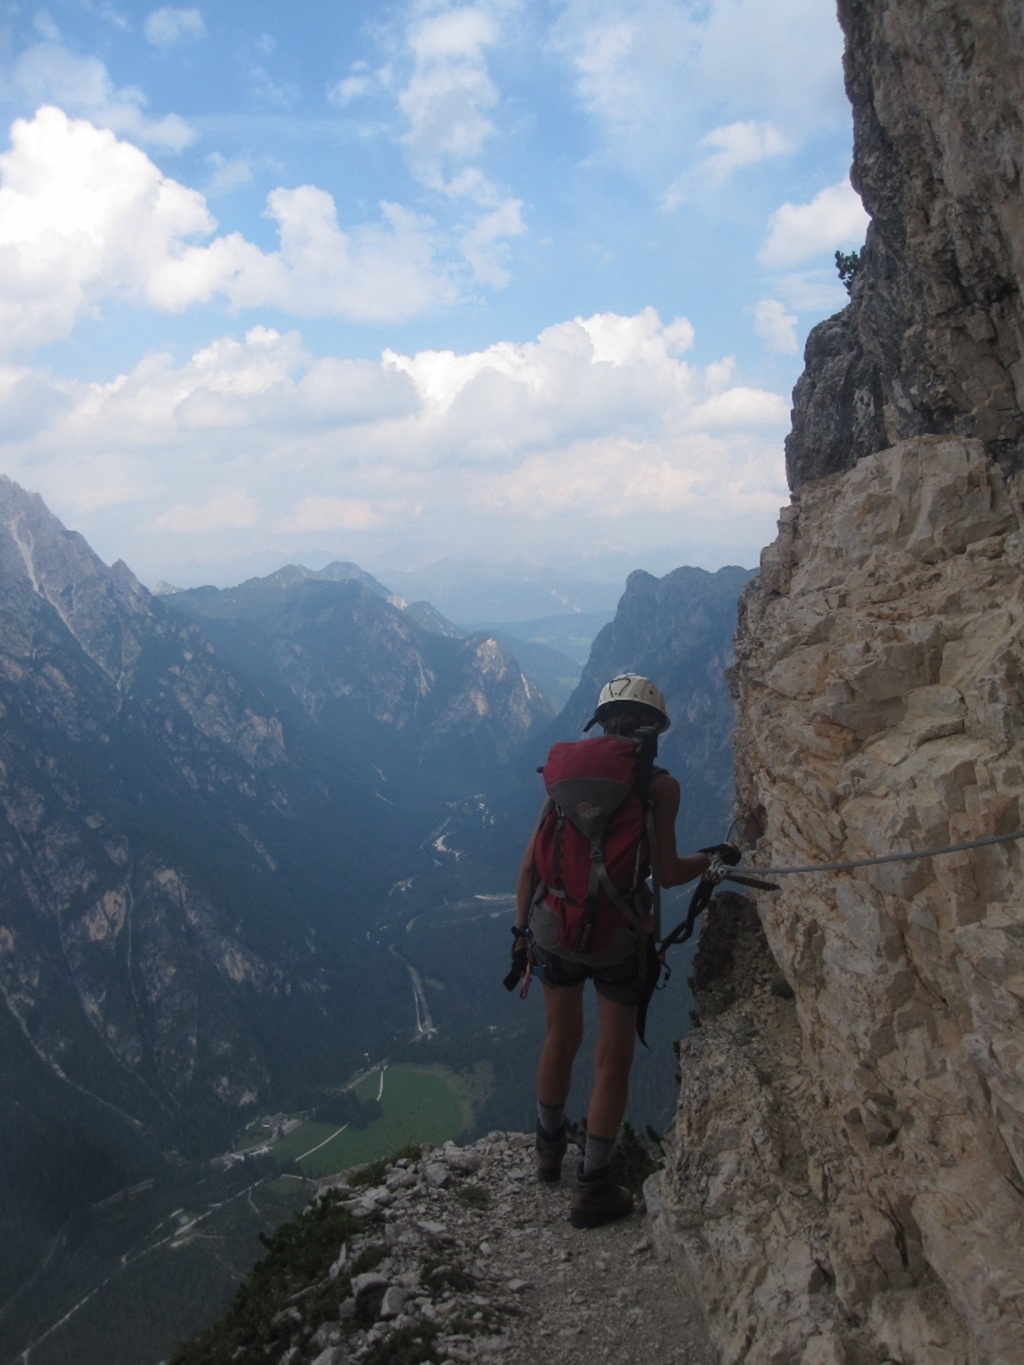
At the easier end, you will encounter ledges and there may be some pretty vertical drops, so you need a good head for heights.
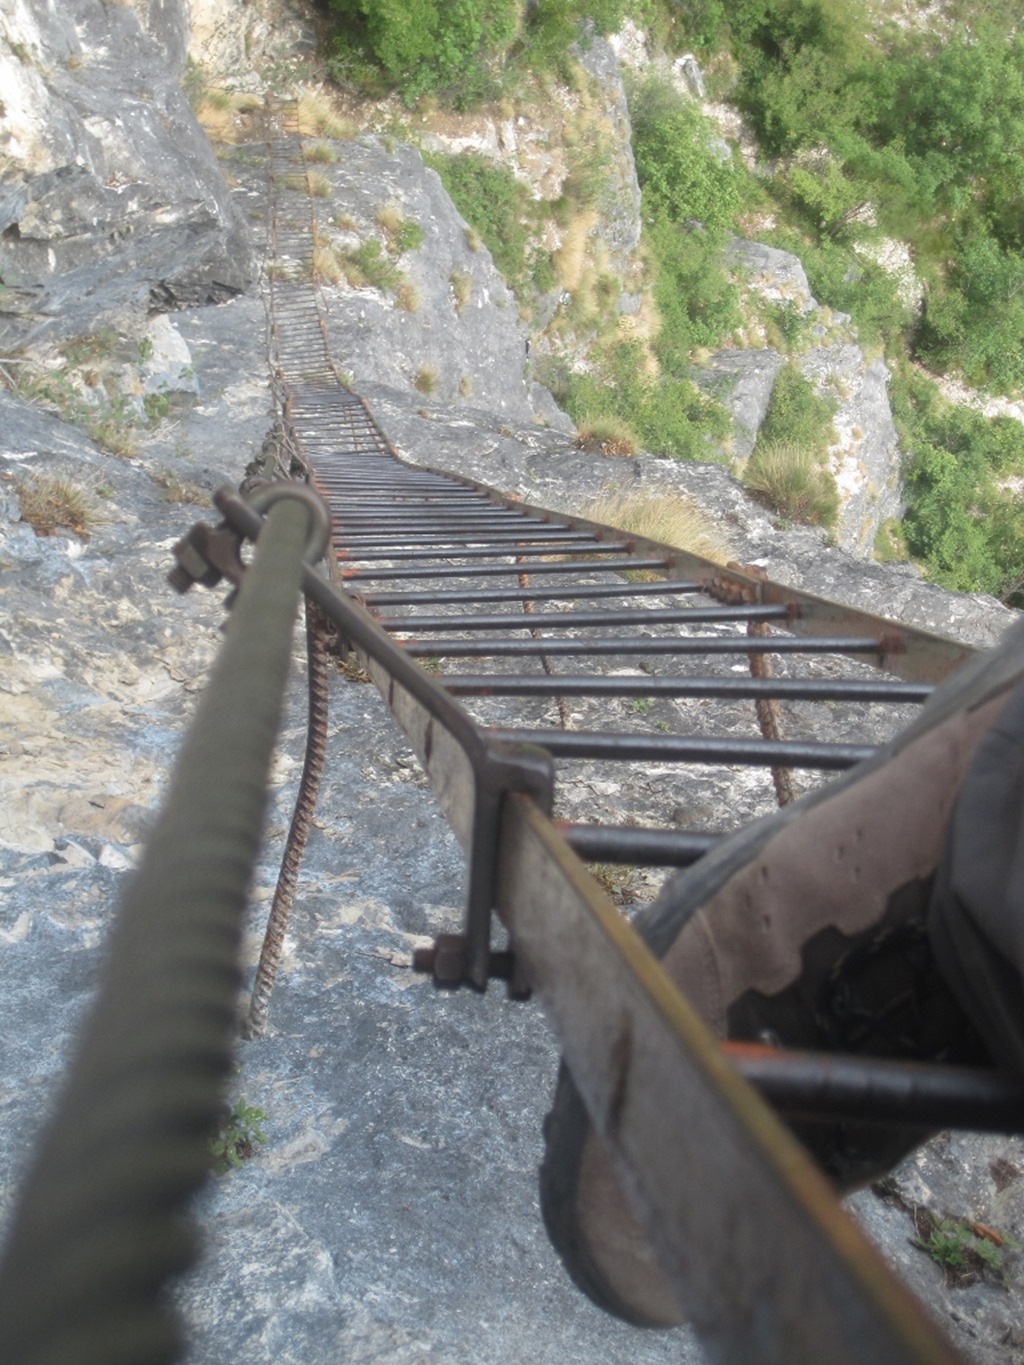
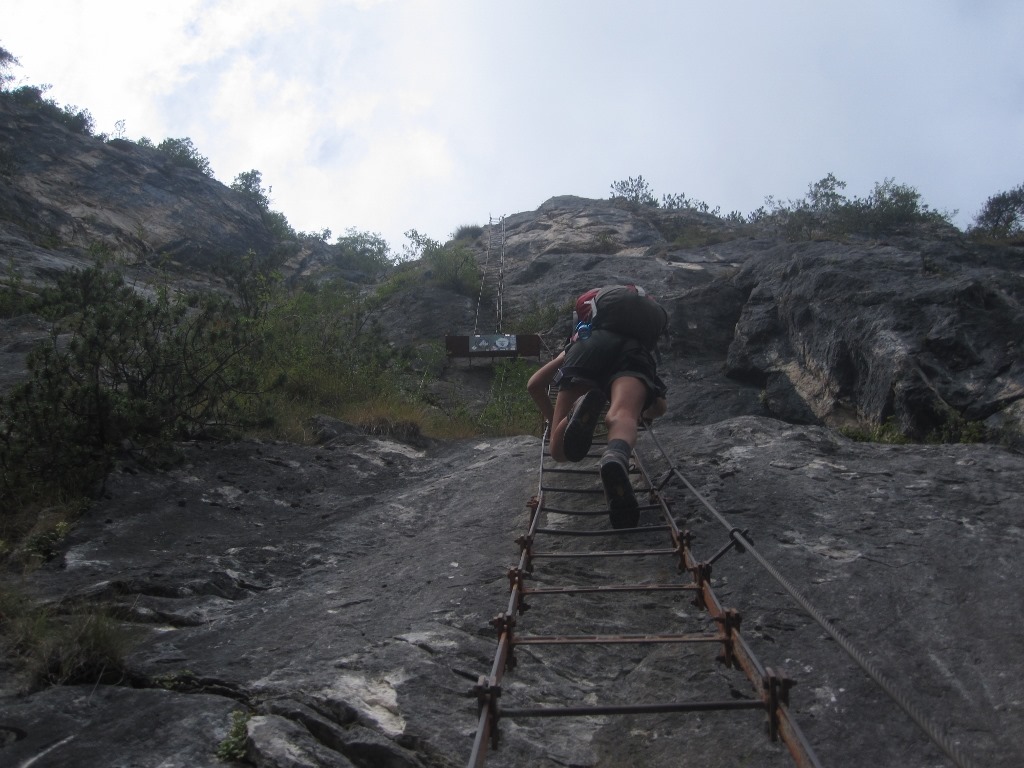
You might get some seriously long ladders, this one had over 100 rungs.
Do not underestimate how tiring such a ladder might be, also the effect of verticality. A vertical ladder, where you have to pull yourself inwards, is much more tiring than one leaning
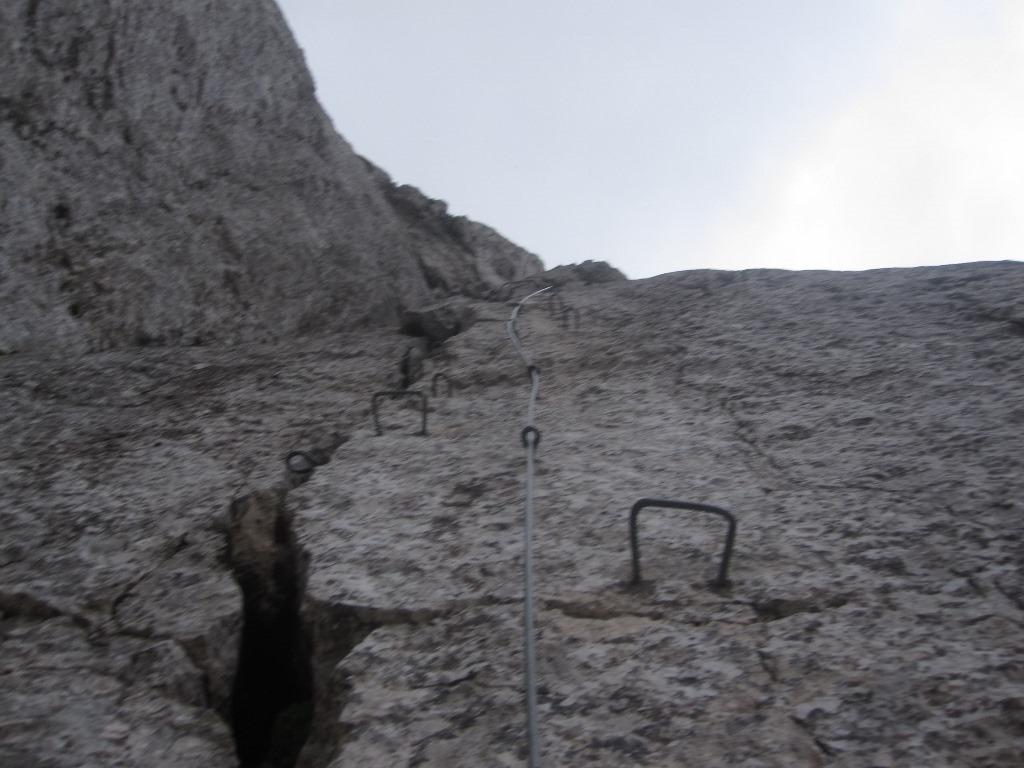
The pieces of reinforcement bar folded into a ‘U’ shape are known as stemples and are good for both foot and hand holds. Also off to the left you can see a heavy ring, also good for both hand and foot. These are the typical sort of artificial hold you will encounter.
Obviously the verticality will vary, affecting the difficulty.
In a way, via ferrata is slightly more difficult than sport climbing as you have to fiddle around with karabiners, but less so than traditional lead climbing where you have to safely insert your own protection
So far, we have tried half a dozen, and enjoyed them all thoroughly. We started simple and easy, increasing the difficulty and the exposure with each climb.
Go on, give it a go, we highly recommend it.
GDR



Chulísimos los articulos de via ferratas, los consejos pistonudos! Espero que esteis bien y con ganas de la vuelta al cole. Ya tenemos ganas de veros. XXX
Pues no precisamente. Sobretodo haciendo via ferratas pero todo llega en esta vida y alguna vez tendremos que unirnos a la vida real
Locos , locos locos. totalmente locos.
Agarrate que vienen curvas!!